Disclosure: This post contains affiliate links. If you buy through them, I may earn a commission at no extra cost to you.
72 hours. That’s how long Ready.gov says you should be able to survive on your own with your own food, water and supplies after an emergency.
The good news? You don’t need a big budget. Ready.gov also notes that most kit items are inexpensive and easy to find.
Here’s how to build an emergency kit on a budget, one small shopping trip at a time. I’ll show you what to buy first, where to save, and what to skip!
What an Emergency Kit Really Needs (and What It Doesn’t)

An emergency kit is just a set of basic items your household may need in a crisis. Skip the fancy gear and start with the basics.
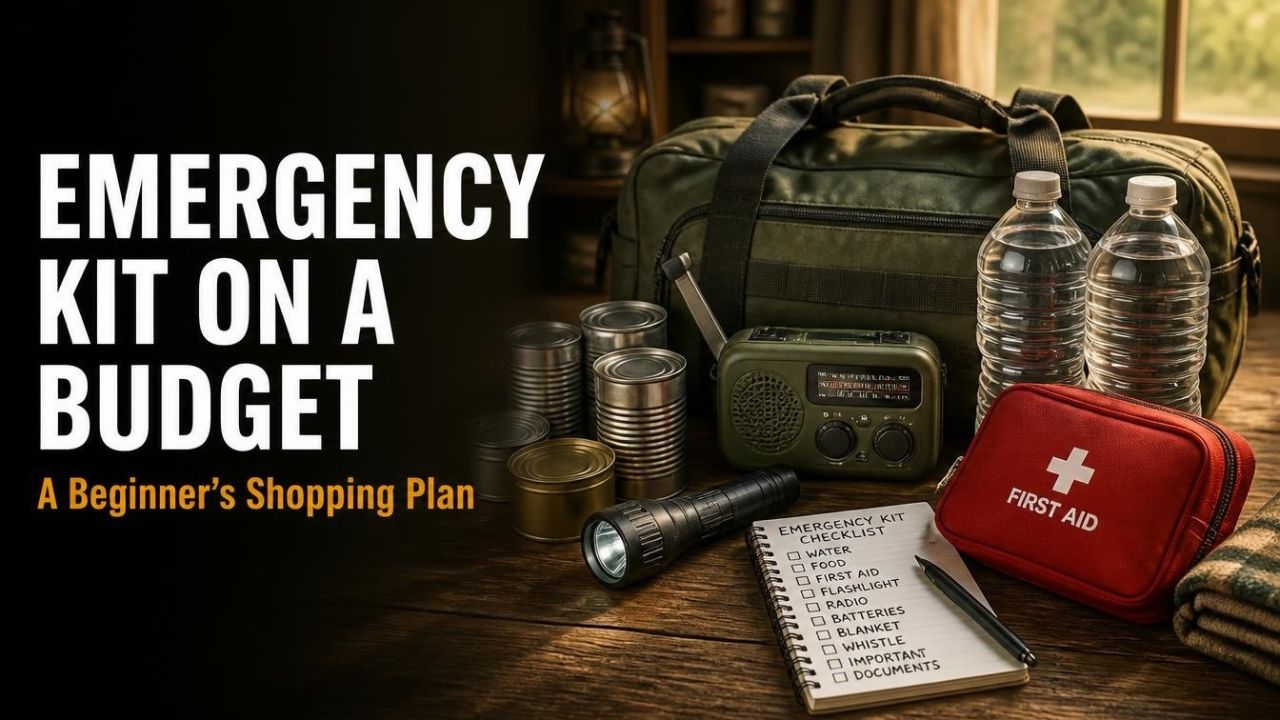
FEMA’s recommended basics include water, non-perishable food, a flashlight, a first aid kit and a battery-powered or hand-crank radio.
- Water: one gallon per person per day, for at least three days
- Food: several days of non-perishable food
- Light and news: a flashlight, extra batteries and a radio
- Health: a first aid kit, medicines and basic hygiene items
- Tools: a whistle, a manual can opener, local maps and a phone charger with a backup battery
That’s it. Everything else is a nice extra.
Step 1: Shop Your Home First

Before you spend a dime, walk through your house with a pen and paper. You probably already own more than you think.
One news report on the Ready.gov basics suggests looking at what you already have, then checking thrift shops and sales for the rest.
- Flashlights and batteries from drawers and junk bins
- Canned and boxed food from your pantry
- Blankets, jackets and sturdy shoes
- Plastic bins, backpacks or a duffel bag to hold the kit
- Garbage bags, soap and a first aid kit
Write down what’s missing. That becomes your shopping list.
Step 2: Start With Water (It’s Cheap and Critical)

Water comes first. Ready.gov’s rule is one gallon per person per day for drinking and sanitation, for at least three days.
So a family of four needs about 12 gallons. Add a little at a time, a few jugs each week.
- Buy store-bought bottled or jugged water, or reuse clean, sturdy bottles you’ve sanitized
- Store in a cool, dark place, like a closet or under a bed
- Label the date and replace it on a schedule
- Keep unscented household bleach on hand for emergency treatment
If you ever run out, the CDC explains how to make water safe. Boil it for 1 minute (3 minutes above 6,500 feet) or disinfect it with bleach as directed.
Step 3: Add Food You Already Eat

You don’t need freeze-dried buckets. Just buy a few extra cans and boxes of food your family really eats each time you shop.
Think foods that need no cooking, or very little. And don’t forget a manual can opener!
- Canned beans, soups, tuna, chicken and vegetables
- Peanut butter, crackers and granola bars
- Rice, oats and pasta (if you have a way to cook them)
- Dried fruit, nuts and shelf-stable milk
- Pet food and baby supplies, if you need them
Ready.gov says to keep canned food in a cool, dry place and replace expired items as needed. Rotating what you buy keeps money from going to waste.
Curious about stretching your food without electricity? Learning non-electric preservation can be worth a look.
Step 4: Light, Power and Communication

This is where a few dollars go a long way. A couple of flashlights, a radio and extra batteries cover most needs.
Skip the candles. Ready.gov advises using flashlights instead because of the fire risk.
- Two flashlights or one flashlight and a headlamp
- A battery-powered or hand-crank radio
- Extra batteries in a sealed bag
- A charged power bank and phone cables
- A whistle to signal for help
The FEMA list also includes a phone charger with a backup battery and local maps. Print a paper map, since phones can die.
Step 5: First Aid, Medications and Hygiene

Health basics are a smart place to spend a little. FEMA’s list includes moist towelettes, garbage bags and plastic ties for sanitation.
- A first aid kit with bandages, gauze, gloves and pain relievers
- A few days of your regular prescriptions
- Spare glasses, plus a printed list of your medicines
- Soap, toothbrushes, toilet paper and feminine hygiene items
- Copies of your ID, insurance and medical records in a waterproof bag
Do you take temperature-sensitive medicine like insulin? Ask your pharmacist about an emergency plan, and see the FDA’s guidance on insulin storage.
Step 6: A Simple Week-by-Week Shopping Plan

Here’s the part that makes it affordable. Spread your purchases over a month, and your wallet barely notices.
- Week 1: shop your home, then buy water jugs and a flashlight
- Week 2: add canned food, a manual can opener and pet food
- Week 3: add a radio, batteries and a power bank
- Week 4: add first aid supplies, hygiene items and a whistle
- Week 5: pack documents, small bills in cash and a paper map
- Every year: check dates and update the kit, as Ready.gov recommends
Common budget mistakes? Buying a pre-made kit you don’t understand, skipping water, and storing everything in one hard-to-reach spot.
Ready.gov also suggests keeping a smaller kit in your car, in case you’re stranded.
Beyond the Kit: Low-Tech Skills That Cost Little
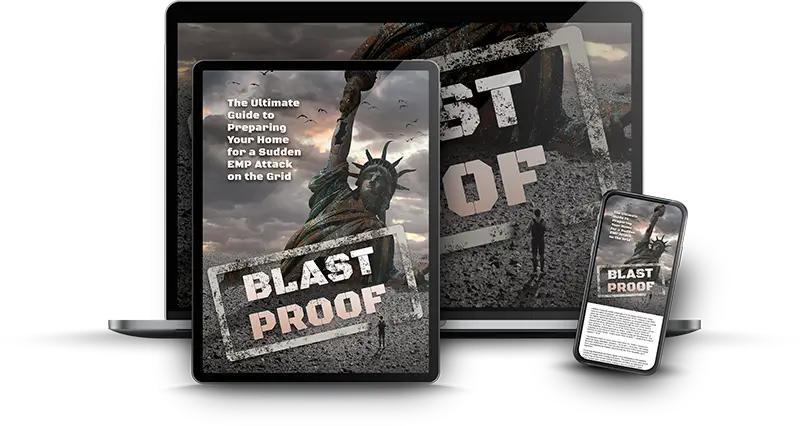
Supplies run out. Skills don’t. That’s why some beginners also look at a low-tech skills program like BlastProof: David’s Shield.
According to the sales page, it’s $67 with a 60-day money-back guarantee. It covers topics like food preservation, water, heat and light, and home security.
I haven’t read inside the guide, and it isn’t a replacement for a real kit. Read my full David’s Shield review to decide if it fits your budget.
Frequently Asked Questions
What are the first things to put in an emergency kit?
Start with water, non-perishable food, a flashlight, batteries, a first aid kit and a radio. These are the core of FEMA’s basic list.
How much water do I need?
One gallon per person per day for at least three days, according to Ready.gov.
How long should an emergency kit last?
Plan for at least 72 hours, per Ready.gov. You can add more days over time.
Where should I store my kit?
Use a bin or duffel bag in an easy-to-reach spot, and tell everyone in your home where it is. Keep a smaller kit in your car too.
Is a pre-made kit worth it?
It can be, but building your own often costs less and fits your needs better. Check what’s inside before you buy.
Conclusion: Start Small, Keep Going

Learning how to build an emergency kit on a budget is mostly about patience. Shop your home first, then add water, food, light, first aid and documents, a little each week.
In a month, you’ll have a solid 72-hour kit without a big bill. Then keep it fresh once a year.
If you’d like to add skills to your supplies, take a look at David’s Shield and use the guarantee to decide for yourself.
Sources and Further Reading
- Ready.gov: Build a Kit
- Ready.gov: Build a Kit (Emergency Supply List)
- FEMA: How to Build a Kit for Emergencies
- Ready.gov: Power Outages
- Alaska’s News Source: Building an Emergency Kit? Check Out the Basics Recommended by Ready.gov
- CDC: Making Water Safe in an Emergency
- FDA: Information Regarding Insulin Storage and Switching Between Products in an Emergency
- LifeTranq: David’s Shield Review