
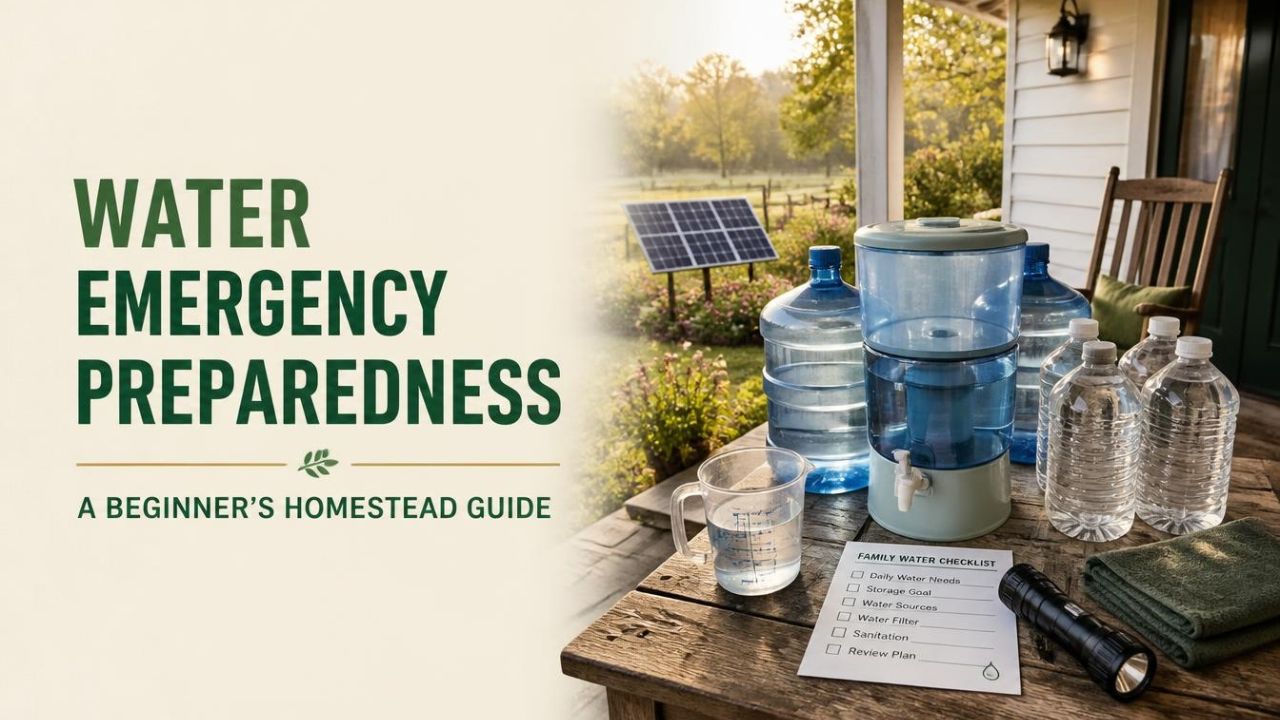
Calculate Your Household’s Emergency Water Needs
Start with a number, not a shopping cart. The CDC’s emergency-water guidance recommends storing at least one gallon per person per day for three days.
That water covers drinking, cooking, brushing teeth, and other essential uses. It is an emergency baseline, not enough to continue every normal household routine without changes.
The basic calculation is straightforward: number of people multiplied by number of days multiplied by one gallon. For four people, a three-day reserve is 12 gallons; a two-week reserve is 56 gallons.
Those totals are a starting point. CDC advises considering extra water for pregnancy, illness, pets, and hot climates.
- One person: 3 gallons for three days or 14 gallons for two weeks.
- Two people: 6 gallons for three days or 28 gallons for two weeks.
- Four people: 12 gallons for three days or 56 gallons for two weeks.
- Six people: 18 gallons for three days or 84 gallons for two weeks.
- Add a separate allowance for animals and individual household needs.
For a hypothetical example, picture two adults, two children, and a dog at a rural home. Their 12-gallon human baseline does not automatically include the dog’s needs or extra water during very hot weather.
I would write those additions beside the calculation instead of hoping the basic amount stretches. A visible list makes overlooked needs easier to spot.
Separate drinking-water planning from water intended for chores. Your emergency reserve should not quietly disappear into garden watering or other tasks you could postpone.
Budget tight? Begin with the three-day target and add to it gradually, rather than delaying everything until you can afford a large tank.
Finally, think about access. Decide who can lift each container, where smaller bottles will be kept, and how someone with limited mobility would get water without help.
Choose Containers and Store Water Safely
A container is part of your drinking-water system, not just packaging. CDC recommends food-grade water-storage containers and warns against reusing containers that previously held toxic chemicals.
That means an old pesticide or bleach container is not a bargain water jug. If you are unsure whether a container is suitable, ask its manufacturer rather than guessing from its appearance.
Unopened commercially bottled water is CDC’s safest and most reliable emergency option. For home-filled containers, cleaning, sanitation, labeling, and storage all matter.
The following is CDC’s container-sanitizing procedure, not a recipe for disinfecting a full batch of drinking water. Keep those two jobs separate.
- Wash the empty container with soap and rinse completely.
- Mix 1 teaspoon of unscented household chlorine bleach containing 5%–9% sodium hypochlorite into 1 quart of water.
- Close the container and shake so the sanitizing solution contacts every inside surface.
- Wait at least 30 seconds, then pour the solution out.
- Allow the empty container to air-dry before filling it with clean water.
- Close tightly and label it “drinking water” with the storage date.
CDC advises keeping home-stored water in a cool place, ideally 50°F–70°F, away from direct sunlight and toxic substances such as gasoline or pesticides. Replace home-filled water every six months and follow the date guidance on purchased bottled water.
I would put the replacement reminder on a calendar immediately. “I’ll remember later” is not much of an inventory system.
Choose a dispensing method before an outage. A small pourable container may be easier to manage than a large container that requires a scoop.
If you do use a scoop, CDC says to use a clean one and avoid touching the stored water or container interior with your hands. Good water can be contaminated during dispensing.
One useful household rule is simple: drinking-water containers are not general-purpose buckets. Keep their lids, utensils, and storage area organized so they stay ready.
Learn Water Treatment Basics Before an Outage
Here is the distinction I would learn first: filtration and disinfection do different jobs. Removing visible dirt is not the same as addressing disease-causing germs.
The CDC’s drinking-water guidance recommends boiling to kill germs or, when appropriate, filtering and then disinfecting water. Most ordinary filters should not be assumed to remove every bacterium or virus.
If water is cloudy, follow official instructions for settling and pre-filtering it before treatment. A clean cloth can remove some visible material, but it does not turn unknown water into safe drinking water.
For boiling, CDC recommends a rolling boil for one minute, or three minutes above 6,500 feet. Allow the water to cool before transferring or using it, and protect it from contamination afterward.
- Prefer unopened bottled water when available during an emergency.
- Keep printed boiling and disinfection instructions with your supplies.
- Check exactly which contaminants a filter is designed to reduce.
- Follow purification-tablet labels for water volume and contact time.
- Keep untreated and treated water in clearly marked, separate containers.
- Follow local instructions whenever a drinking-water advisory is issued.
Do not improvise a bleach dose from memory. The correct instructions depend on the product concentration, water quantity, and conditions, so keep current official guidance available offline.
The bigger limitation is chemical contamination. The CDC warns that water containing harmful chemicals or toxins cannot be made safe through ordinary boiling, disinfecting, or filtering.
If a source may contain fuel, industrial chemicals, or another hazardous substance, use an official alternative source. This is not a good moment for a backyard experiment.
Practice the organization with safe water first: find the pot, read the instructions, locate the clean containers, and identify where finished water will go. You can discover a missing lid without waiting for a real outage.
Build a Homestead Water Backup Plan
Before buying another device, draw a simple map of how water reaches your home. Write down whether you use a public utility, private well, delivered water, or another arrangement.
Then list what you would need to confirm if that supply stopped. For a well household, that might include the service contact, equipment details, and the manufacturer’s instructions—not an assumption that every outage means the well is dry.
I would keep this information on paper as well as on a phone. The point is to make a stressful day involve fewer searches and fewer guesses.
- Record your normal water source and service provider.
- List the utility, well contractor, health department, and approved refill contacts.
- Mark where drinking water, clean containers, and treatment supplies are stored.
- Assign someone to check inventory and replacement dates.
- Write down which water uses can be postponed during an interruption.
- Identify a backup access option before you need it.
For faith-minded families, I would frame this as stewardship rather than a prediction. You can prepare responsibly and discuss helping neighbors without making claims about exactly when a crisis will happen.
Make agreements specific. Instead of “we’ll help each other,” ask whether a nearby relative could share transport, offer temporary accommodation, or help collect supplies if local guidance permits.
Next, run a short practice drill using your stored water for a planned meal and basic tasks. There is no need to disconnect electrical equipment or alter the well controls.
Check whether you can pour safely, find the instructions, and keep clean and used utensils apart. Note anything awkward, then adjust the setup.
For a hypothetical household, the surprise might be that every container is too heavy for one family member to move. Smaller accessible containers could solve that planning problem before an emergency makes it urgent.
Evaluate DIY Water Sources, Including Joseph’s Well
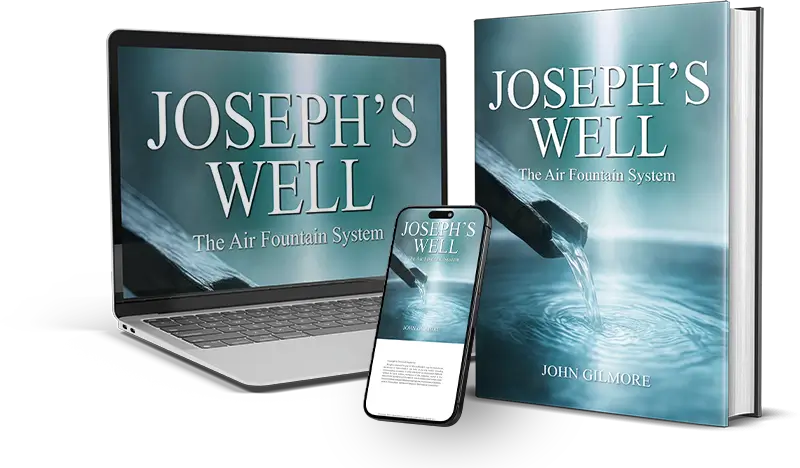
Once storage and basic procedures are covered, supplemental water projects become a research topic rather than a rushed purchase. Ask what problem the project would solve and what evidence supports it.
Atmospheric water generators collect moisture from air, commonly using cooling coils and condensation. The EPA’s atmospheric-water-generation technical brief explains that production depends heavily on temperature and humidity, and these systems can require significant energy.
That makes climate and power questions important. Do not assume a dry-climate homestead will get the output shown in favorable operating conditions, or that a small panel can run any generator.
EPA studied a specific commercial Watergen unit, not Joseph’s Well. Its findings are not a certification of an unrelated DIY design or proof that untreated condensate is safe to drink.
Joseph’s Well’s vendor page describes educational information and DIY plans and states that results vary. Evaluate it as a guide, not a delivered water appliance or guaranteed replacement supply.
You can visit the Joseph’s Well review as an additional research step. Compare its claims with the current offer and request supporting information where important details are unclear.
- Confirm what the digital purchase includes.
- Request the parts list and realistic power requirements.
- Budget for construction, maintenance, treatment, and testing.
- Ask for evidence of performance under conditions similar to yours.
- Confirm current support and refund terms before ordering.
If the answers fit your goals, review the current Joseph’s Well offer. Keep your stored reserve regardless of whether you proceed with the project.
Conclusion: Begin With Water You Can Depend On
Water emergency preparedness for beginners does not require a complicated workshop or a large first purchase. Start with the CDC’s three-day baseline, choose suitable containers, and work toward a longer reserve when possible.
Learn the limits of filtration and disinfection, write down service contacts, and practice accessing your supplies. Those small tasks turn a collection of products into a usable household plan.
If Joseph’s Well interests you, research it as a supplemental DIY project after the essentials are covered. Preparation works best when the equipment, evidence, budget, and household needs all fit together.