
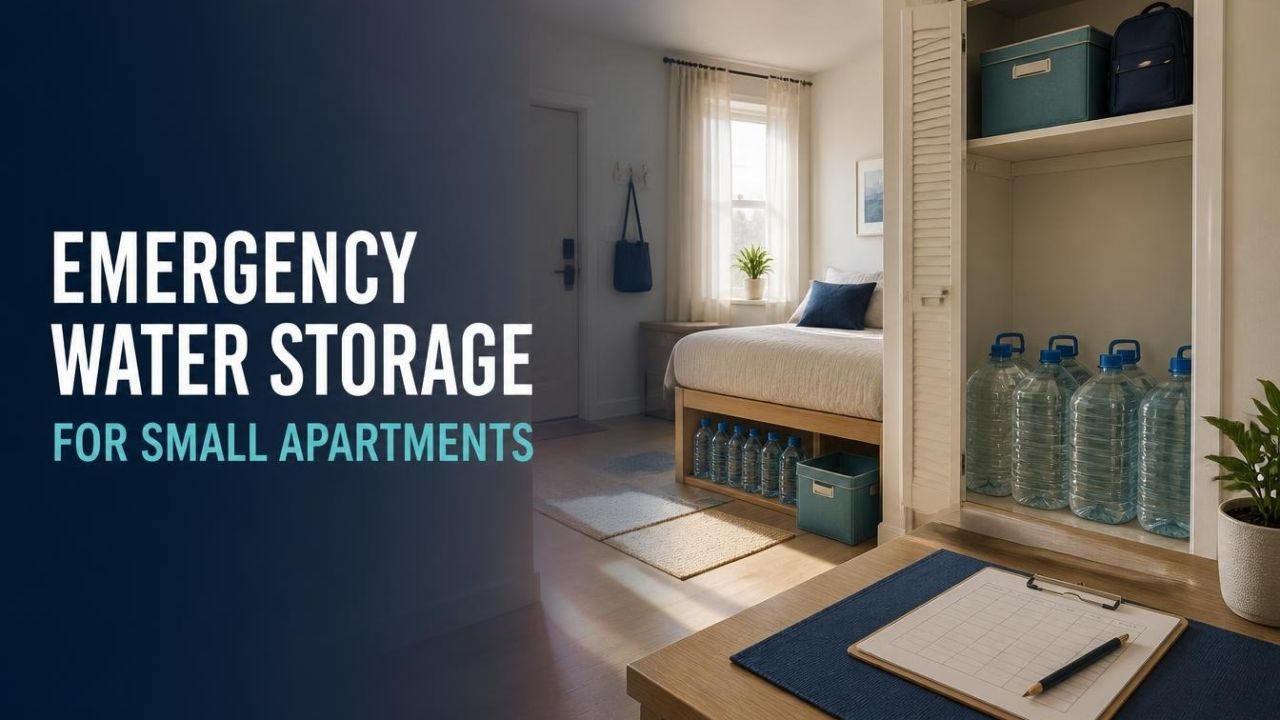
My approach to how to store emergency water in a small apartment starts with manageable containers and a few carefully chosen spaces. You don’t need one giant tank!
Below, I’ll walk through quantities, safe containers, storage locations, cleaning, and rotation. The goal is a reserve you can find, move, and use—not a collection of forgotten jugs.
Affiliate disclosure: This article contains affiliate links. If you purchase through them, we may earn a commission at no additional cost to you.
1. Calculate Your Emergency Water Supply Before Buying Containers

I’d start with a number on paper, not a sale on storage containers. Otherwise, it’s easy to buy something that looks useful without knowing how much of your target it actually covers.
The CDC recommends at least one gallon per person per day for three days, and a two-week supply if possible. These are U.S. gallons, approximately 3.8 liters each.
That starting allowance covers drinking, cooking, brushing teeth, and other essential uses. It is not a replacement for your normal shower, laundry, and toilet-flushing consumption.
- One person: at least 3 gallons for three days.
- Two people: at least 6 gallons for three days.
- Four people: at least 12 gallons for three days.
- Two people planning for two weeks: at least 28 gallons.
The CDC advises considering additional water for pregnant people, people who are sick, pets, and hot climates. Add those needs to the plan instead of assuming the household minimum covers everything.
For a hypothetical two-person apartment, I’d write “6 gallons minimum starting target” on the inventory sheet. Once that reserve is safely stored, I’d look for room to expand it.
If the full amount cannot be purchased at once, work toward it in stages. Just be clear about the shortfall: two gallons is progress, but it is not a complete three-day supply for two adults.
I’d also separate the water budget from optional educational purchases. David’s Shield’s preparedness material may interest readers who prefer a Christian-oriented presentation, but its seller describes educational information and DIY plans—not a physical water supply.
2. Choose Safe Water Containers You Can Actually Move

I’d rather have several containers I can comfortably handle than one impressive container I cannot lift. Storage capacity matters, but so does getting the water into a cup.
The CDC identifies unopened commercially bottled water as the safest and most reliable emergency source. Keeping it in its sealed original packaging is a straightforward starting option.
If you prefer refillable containers, choose products intended for drinking-water storage. The CDC recommends food-grade containers and says to contact the manufacturer when you are unsure about suitability.
- Check the stated capacity before calculating your total supply.
- Choose a closure that seals tightly.
- Look for durable, unbreakable construction rather than glass.
- Consider a narrow opening that allows controlled pouring.
- Check the manufacturer’s filling, storage, and stacking instructions.
Never use a container that previously held bleach, pesticides, or another toxic chemical. The CDC specifically warns against this, even if the container appears clean.
Here’s a hypothetical shopping mistake: a large camping container fits perfectly in the closet, but nobody can comfortably pour from it when full. Before buying several, consider how the actual user will lift or dispense the water.
I’d favor more than one size when the household has different abilities. Smaller sealed bottles may be easier to carry, while a larger approved container may suit a stationary storage location.
Rectangular shapes can be convenient to arrange, but shape alone does not prove a product can be stacked. Follow its specified orientation and stacking limits rather than building a tower of ordinary jugs.
Finally, measure the storage opening as well as the container. A vessel that fits inside a cupboard still needs enough clearance to come out without scraping, tipping, or dismantling the shelf.
3. Find Cool, Accessible Storage Spots Around Your Apartment

My favorite organizing question is, “What space is available without making daily life harder?” Water belongs in usable storage—not across a hallway you need to walk through at night.
For home-filled water, the CDC recommends a cool location, 50–70°F, away from sunlight and toxic substances. That is approximately 10–21°C.
In a hot apartment, choose the coolest suitable indoor location available and recognize when the recommended range is not being met. Follow the container or bottled-water manufacturer’s instructions, too.
- Closet floor: use an accessible area away from chemicals and heat sources.
- Under the bed: choose containers that fit in their approved storage orientation.
- Low cabinet compartment: check clearance and the supporting structure.
- Unused furniture space: use it only if the furniture is designed for the load.
- More than one location: record each location so supplies are not forgotten.
I’d skip a sunny balcony, a hot utility cupboard, and the space beside a radiator. A hidden location is not automatically a suitable one.
Under the sink may be tempting, but it often shares space with cleaning chemicals. Keep drinking water separate from toxic substances, following CDC guidance.
Don’t assume a shelf, drawer, or storage ottoman can support a full water reserve. Check its load rating and installation instructions; for large concentrated quantities, ask building management or a qualified professional about support.
A hypothetical six-gallon layout might put three one-gallon containers in one suitable closet and three in another suitable low storage area. It’s an organizing example, not a universal approval for any shelf or floor.
Keep access routes, doors, and mobility-aid paths clear. If getting water requires climbing or moving heavy furniture, choose a different spot.
I’d label the inside of the emergency-kit folder with the locations. “Three gallons, bedroom closet” is more useful than “some water somewhere behind the coats.”
4. Clean, Sanitize, and Fill Reusable Water Containers Correctly

This is the part I would follow carefully rather than improvise. A container can look clean without having been prepared according to safe-storage guidance.
The steps below follow the CDC’s procedure for cleaning and sanitizing water storage containers. Use an appropriate container and safe water, and follow the product’s instructions.
- Wash the empty container with soap and rinse it completely.
- Prepare a sanitizing solution using 1 teaspoon of unscented liquid household chlorine bleach in 1 quart, or 4 cups, of water.
- Use bleach whose label states 5%–9% sodium hypochlorite.
- Close the container and shake it so the solution touches all inside surfaces.
- Wait at least 30 seconds, then pour out the sanitizing solution.
- Let the empty container air-dry before use.
- Fill with clean, safe water and close tightly.
This dilution is for sanitizing the empty container—not a recipe for dosing drinking water. The solution is poured out before the container is filled.
I’d keep the CDC page available while preparing the containers rather than trusting a remembered ratio. Avoid substituting another cleaning product for the specified bleach.
Only fill from a source known to be safe. If a drinking-water advisory is active, follow the water supplier’s or health authority’s instructions instead of assuming tap water is suitable.
Label each home-filled container “drinking water” and add the filling date. I’d also write the next six-month replacement date so the maintenance step is obvious.
For broader reading, compare the David’s Shield review with the seller’s current information. Optional preparedness material should supplement authoritative water-safety guidance, not replace it.
5. Rotate, Inspect, and Use Your Water Without Contaminating It

A reserve needs a maintenance routine, not just a storage location. I’d put the next check on the calendar as soon as the containers are filled.
The CDC says to replace home-filled water every six months. For commercially bottled water, observe the expiration date rather than applying the home-filled schedule automatically.
- Record the location, quantity, and relevant date for each container.
- Inspect for leaks, damaged closures, and packaging problems.
- Confirm that heat, sunlight, or nearby chemicals have not changed the storage conditions.
- Replace home-filled water on schedule and prepare containers appropriately before refilling.
- Update the household total whenever water is used or replaced.
Make access hygienic, too. The CDC advises using a clean scoop if one is needed, keeping hands out of the water, and avoiding contact with the inside of the container.
I’d pour or use the container’s intended dispenser where practical. Keep the opening protected and follow the product’s directions rather than adding improvised fittings.
If you suspect contamination, do not assume a filter or boiling will solve it. CDC emergency guidance warns that fuel or toxic chemicals cannot be made safe by boiling or disinfection; use another safe source and follow health-authority advice.
If you are also researching “is a microwave a faraday cage,” treat that as a separate equipment question. It does not change the requirements for safe water containers, sanitation, or storage.
For optional learning, explore David’s Shield’s educational offer after the basic reserve is covered. Check the contents, format, current terms, and any implementation costs before deciding.
My final check would be simple: can everyone who may need the water locate it and use it safely? If not, adjust the setup.
Conclusion: Start Small, Then Build a Reliable Reserve
Consistency matters more than a picture-perfect pantry. Learning how to store emergency water in a small apartment means choosing a realistic target, safe containers, suitable locations, and a rotation routine.
Start by measuring one storage space and counting your current supply. Then fill the gap without blocking access or compromising water safety.
For optional further reading, compare the David’s Shield review with the seller’s details. Keep CDC guidance and your household’s actual needs at the center of the plan.