
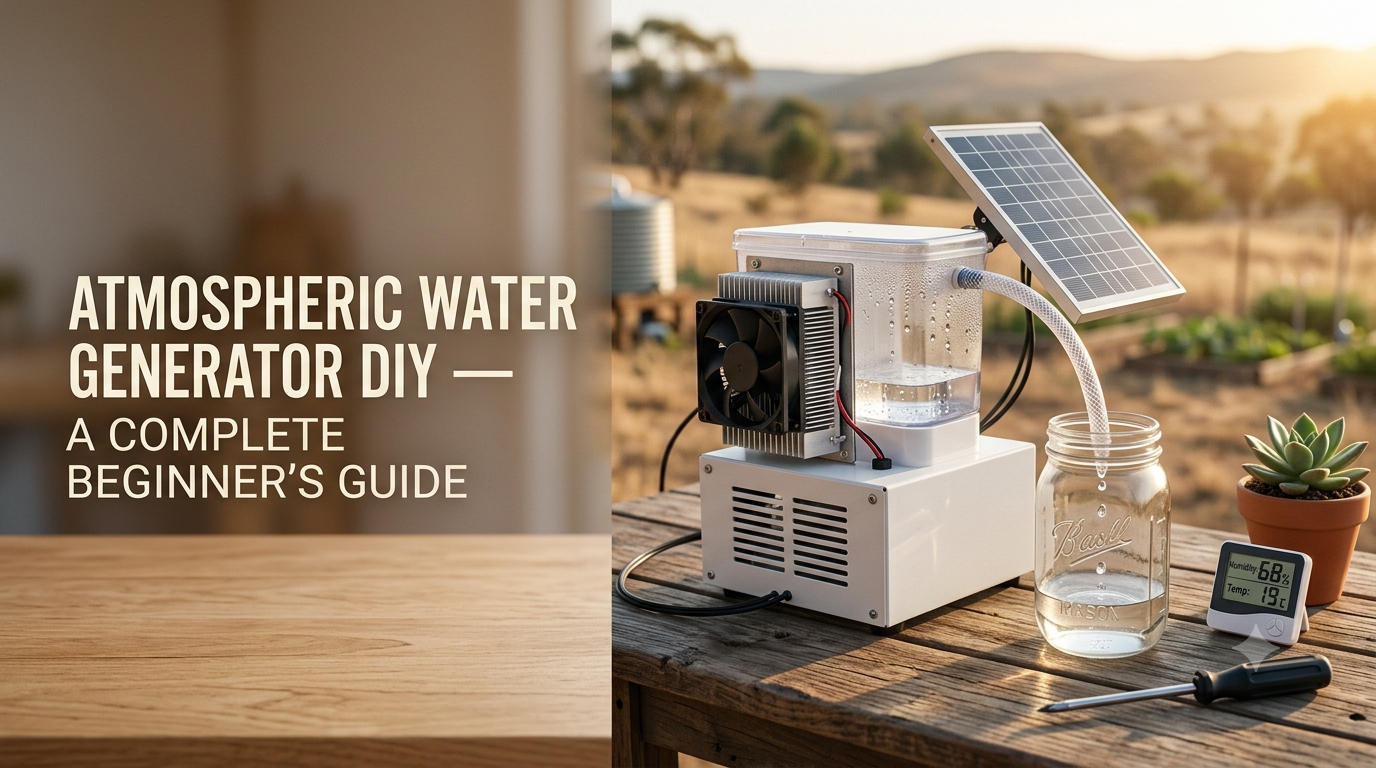
What Is an Atmospheric Water Generator DIY System?
An atmospheric water generator DIY system is a home-built setup designed to collect moisture already present in the air. It does not create water out of nothing. It cools humid air until water vapor turns into liquid condensation.
I remember seeing the phrase “water from thin air” years ago and rolling my eyes a little. It sounded like one of those clickbait ideas, you know? But condensation is a real physical process, and anyone who has seen water form on a cold drink understands the basic idea.
Most DIY atmospheric water generator designs use some version of these steps: move air, cool it below its dew point, collect the condensation, filter or treat it, then store it safely. The tricky part is that every step matters, especially if the water may ever be used for drinking.
The National Weather Service explains dew point as the temperature at which air becomes saturated and water vapor can condense. That is the engine behind the whole concept.
- Air enters the unit through a fan or vent system.
- Cooling coils lower the air temperature below the dew point.
- Water vapor condenses into droplets on a cold surface.
- Condensate drains into a collection tank or food-safe container.
- Collected water should be filtered, disinfected, and tested before drinking.
A DIY water generator can be useful for homesteaders, preppers, rural households, RV users, and anyone interested in an off-grid water system. Still, it should be seen as a possible supplemental water source, not a magic replacement for stored water, rainwater harvesting, wells, or municipal supply.
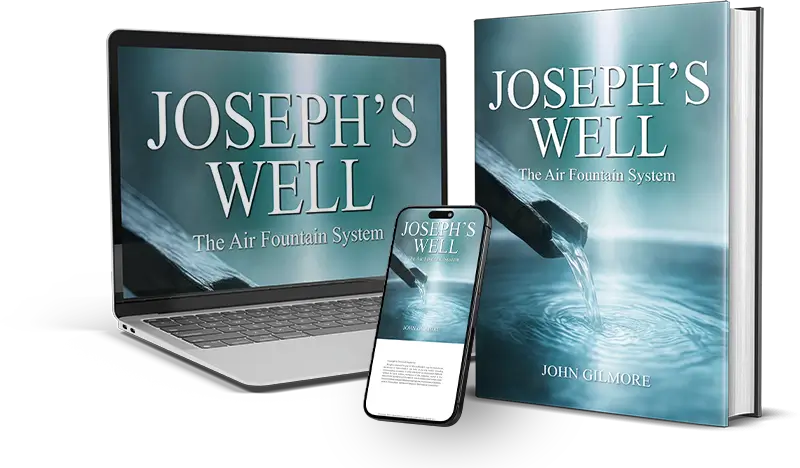
For a detailed overview of one beginner-oriented system, you can also read this Joseph’s Well review. It explains what the guide claims to include, along with practical limitations worth considering before you buy anything.
How an Air-to-Water Generator Works Step by Step
At the heart of an air-to-water generator is a very basic principle: cool moist air enough, and water appears. That sounds easy, but the actual build can get fiddly fast if tubing leaks, drainage is blocked, or the power draw was underestimated.
A typical condensation-based water generator works a lot like a dehumidifier. A fan pulls humid air over cold evaporator coils. When those coils are colder than the dew point, moisture condenses, drips into a pan, and is directed into a collection container.
Then comes the part people often skip in videos: the water-handling system. Condensation can pick up dust, microbes, residues, and contaminants from the air or the device itself, so proper materials and treatment are important.
An EPA evaluation of atmospheric water generation technology found that atmospheric condensate is not automatically sterile and should be treated appropriately before it is used as potable water.
- Air intake: A fan pulls humid ambient air into the system.
- Condensation: Cold coils remove heat from the air and form water droplets.
- Drainage: Condensate runs into a clean drip tray and through tubing.
- Filtration: Sediment and carbon filtration can reduce particles and improve taste.
- Disinfection: UV, boiling, or properly dosed chemical treatment may be needed depending on water quality.
- Storage: Water should be kept in sanitized, food-grade containers with tight lids.
My early mistake would have been treating the collection bucket like it was a glass from the kitchen. It isn’t. A warm, wet tank can become a place where microbes grow if cleaning is ignored.
That is why a clean build is better than a fancy build. Use materials intended for water contact, avoid exposed dirty reservoirs, and build maintenance into the plan from day one.
Humidity, Temperature, and Climate: Will a DIY AWG Work Where You Live?
Before spending money on parts, check your local climate. Seriously. This one step can save a pile of frustration.
An atmospheric water generator DIY project generally performs better in warm, humid conditions because more water vapor is available in the air. A system in coastal Florida or the Gulf Coast may collect substantially more condensation than the same system in a very dry part of Arizona or Nevada.
Relative humidity helps, but dew point is often more useful. A high relative humidity percentage on a cold day may still contain less total moisture than warmer air at a moderate percentage.
The National Oceanic and Atmospheric Administration’s water-cycle resources explain that warmer air can hold more water vapor than colder air. That basic fact helps explain why home water generators tend to perform differently by season and location.
- Warm and humid climates are generally better for atmospheric water collection.
- Coastal regions, subtropical areas, and humid summer conditions can improve output.
- Dry deserts may produce much less water without high-efficiency equipment.
- Cold winter air often limits water vapor availability.
- Nighttime temperatures, airflow, dew point, and indoor humidity can change daily output.
I would not plan around the maximum output figure from a sales page or YouTube thumbnail. Instead, assume your results could be lower, especially during dry months.
A good beginner test is simple: run a dehumidifier or humidity meter in the intended location for a few days. Track humidity, room temperature, and collected water. That gives you a realistic clue about what an air moisture collection system might do at your home.
Some vendors, including Joseph’s Well, promote specific output and cost estimates for DIY builds. Those should be treated as marketing claims, not guaranteed results, because output depends on humidity, equipment design, maintenance, and electricity use.
DIY Atmospheric Water Generator Parts and Basic Build Planning
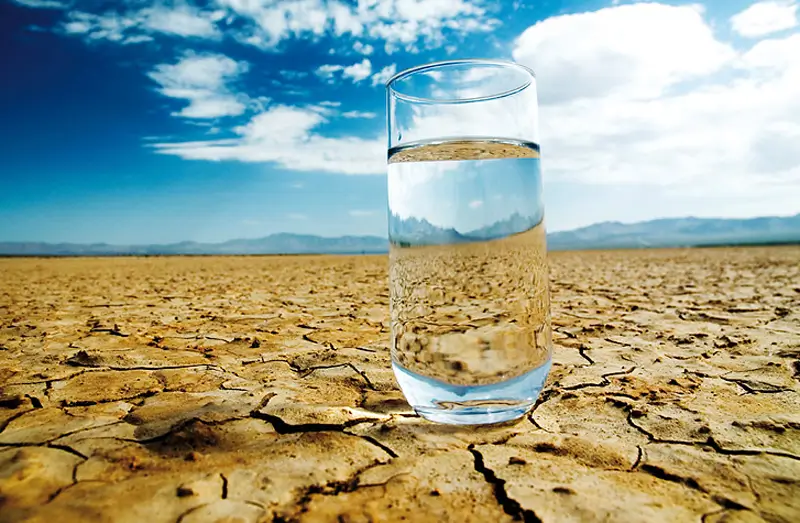
Planning the build before ordering parts is where beginners save money. I have watched plenty of DIY projects become a cluttered pile of fittings, adapters, and “maybe this will work” purchases. Been there mentally, anyway.
A basic DIY AWG often uses refrigeration-style cooling components or repurposed dehumidifier parts. Some designs also use a Peltier module, though these can be less energy-efficient for large water output.
For a small personal system, the goal is not to make it complicated. The goal is reliable airflow, stable cooling, clean drainage, safe power, and simple maintenance.
- A fan or blower to move humid air through the unit.
- A cooling surface, evaporator coil, dehumidifier, or condensation module.
- A drip tray that drains completely and does not hold stagnant water.
- Food-safe tubing and a sealed collection container.
- A sediment filter and activated-carbon filter where appropriate.
- A method for disinfection or water treatment before potable use.
- A hygrometer to monitor humidity and a watt meter to track energy use.
- Electrical protection, including appropriate wire size, fuses, and grounded connections.
Use food-grade components whenever collected water will touch the material. That means avoiding random old containers, brittle tubing, rusty fittings, and storage bins that were never made for potable water.
For people who prefer a guided route instead of piecing together instructions from twenty different videos, Joseph’s Well is marketed as a digital DIY package with video instructions, build plans, materials sourcing, and off-grid power guidance. You can explore the Joseph’s Well guide here and compare it against your own planned build.
Water Safety: Filtration, Disinfection, and Storage Matter Most

This section matters more than the shiny hardware. Water collected from air may look clear and still be unsuitable for drinking without proper treatment and testing.
Atmospheric condensate can come into contact with airborne particles, dirty coils, collection pans, tubing, filters, and storage tanks. A system was built clean once, but that does not mean it stays clean forever.
The Centers for Disease Control and Prevention guidance for making water safe in an emergency recommends boiling clear water for one minute, or three minutes at elevations above 6,500 feet, when boiling is the chosen treatment method.
However, boiling is not a cure-all. It kills many germs, but it does not remove every dissolved chemical, metal, or airborne pollutant. That’s why source control, filtration, maintenance, and laboratory testing all belong in a serious potable-water plan.
- Clean drip trays, filters, tubing, and storage tanks on a regular schedule.
- Use sealed, food-grade water containers and keep them away from sunlight.
- Do not drink collected condensate without considering filtration, disinfection, and testing.
- Use a certified laboratory or local water-testing service when relying on a new water source.
- Keep untreated collected water separate from water that has already been treated.
The CDC’s safe water storage guidance recommends cleaning and sanitizing containers, using tight-fitting covers, and labeling water-storage containers with relevant treatment information.
It’s not glamorous, but sanitation is what turns a neat DIY project into a responsible preparedness tool. If I had to pick between more gallons and a cleaner system, I’d choose cleaner every time.
Running an Atmospheric Water Generator Off Grid With Solar Power
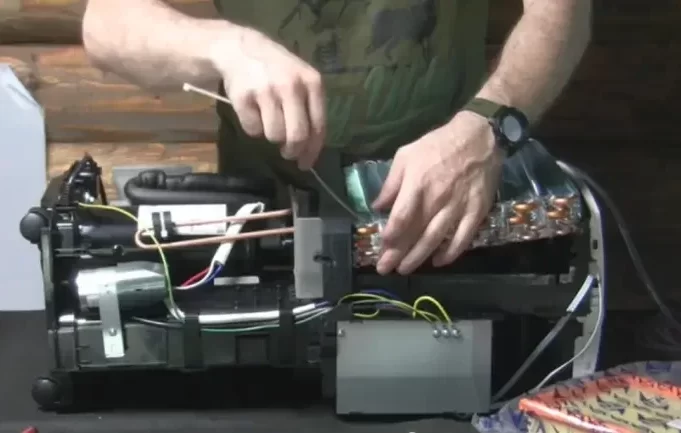
Many people are drawn to an atmospheric water generator DIY build because they want water independence. But refrigeration-based condensation requires energy, so a true off-grid water system needs honest power planning.
A small solar panel, battery, charge controller, and inverter can run some equipment, but the system has to be sized for the actual load. This part is often underestimated because solar setups look simple in photos. In real life, watts and watt-hours are stubborn little things.
The U.S. Department of Energy explains solar photovoltaic system basics, including the role of modules, inverters, and batteries. Solar panels create DC electricity, batteries store energy, and inverters are commonly used to supply AC power to household-style devices.
- Find the device wattage on its label or measure it with a plug-in power meter.
- Multiply watts by hours used daily to estimate watt-hour consumption.
- Add battery capacity for nighttime use, cloudy weather, and efficiency losses.
- Use a charge controller between solar panels and batteries.
- Choose an inverter with adequate continuous and surge capacity.
- Use fuses and correctly sized cables to reduce electrical risk.
For example, a device that draws 300 watts and runs for 8 hours uses roughly 2,400 watt-hours before accounting for inverter losses. That is a much bigger solar requirement than many beginners expect.
Start small. Power a fan, pump, or low-watt device first, then grow your setup as you understand your local sun exposure and energy budget.
Joseph’s Well: A Guided DIY Option for Water Preparedness
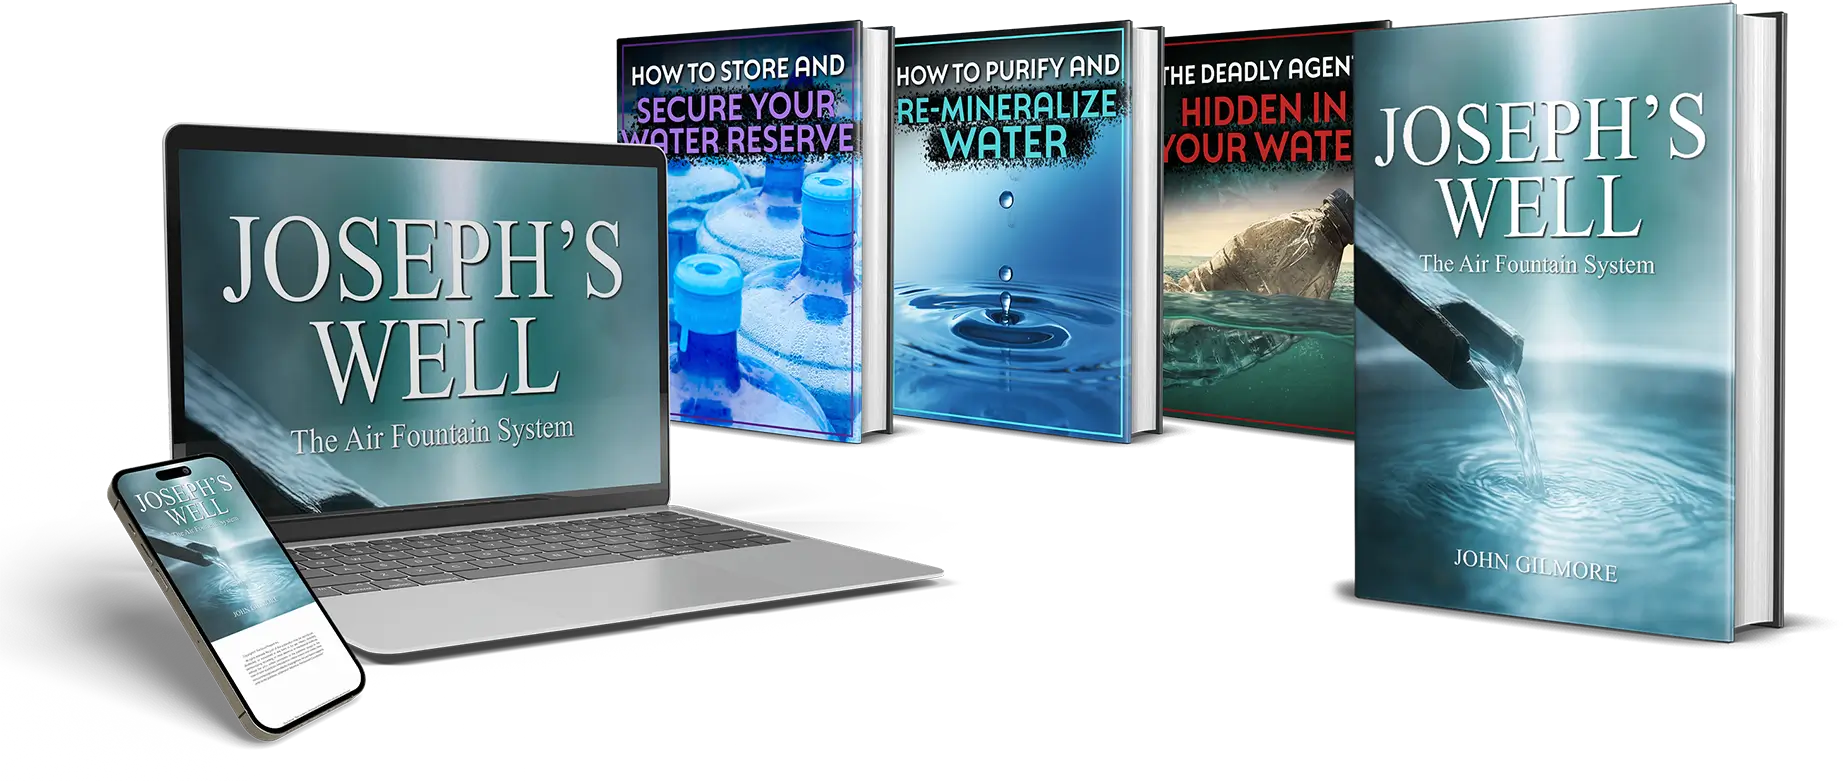
There are two ways to approach a DIY atmospheric water generator: research each component separately, or use a structured guide. Neither approach is automatically better, but a guide can reduce the guesswork for beginners who want a materials list, visual steps, and a defined build path.
Joseph’s Well is promoted as a digital DIY guide for assembling a personal atmospheric water generator. The vendor says it includes step-by-step videos, printable blueprints, a parts list, on-grid and off-grid power instructions, and water preparedness bonuses.
It also makes claims about build cost and potential daily water production. Those figures may vary significantly by climate, humidity, power use, local parts costs, and the builder’s setup, so I would not treat them like a promise.
- Review exactly what is included before purchasing a DIY digital guide.
- Compare the expected parts cost with local availability and shipping expenses.
- Confirm your climate has enough humidity for a condensation-based setup.
- Plan for water treatment, maintenance, and testing beyond the basic build.
- Use the system as one layer in a broader emergency water plan.
If you are curious about the offer, you can read the Joseph’s Well product review first. Then, if it matches your budget and preparedness goals, you can check the current Joseph’s Well offer directly.
Conclusion: Build Water Resilience One Layer at a Time
An atmospheric water generator DIY project can be a fascinating and useful addition to an off-grid water plan. It collects moisture through condensation, but success depends on local humidity, thoughtful design, energy availability, clean components, and safe treatment practices.
Start by checking your climate and measuring humidity. Then build your emergency water storage, filtration, and sanitation habits before depending on any homemade water generator for drinking water.
The best setup is rarely one perfect machine. It is a layered plan: stored water, safe containers, filtration, treatment, local water knowledge, and a backup source that fits your family’s actual conditions.
Sources and Further Reading
- U.S. Environmental Protection Agency: Atmospheric Water Generation Technology Evaluation
- Centers for Disease Control and Prevention: How to Make Water Safe in an Emergency
- Centers for Disease Control and Prevention: Emergency Water Storage
- Centers for Disease Control and Prevention: Safe Water Storage
- National Weather Service: Dew Point and Humidity
- National Oceanic and Atmospheric Administration: The Water Cycle
- U.S. Department of Energy: Solar Photovoltaic System Design Basics
- Joseph’s Well Review