
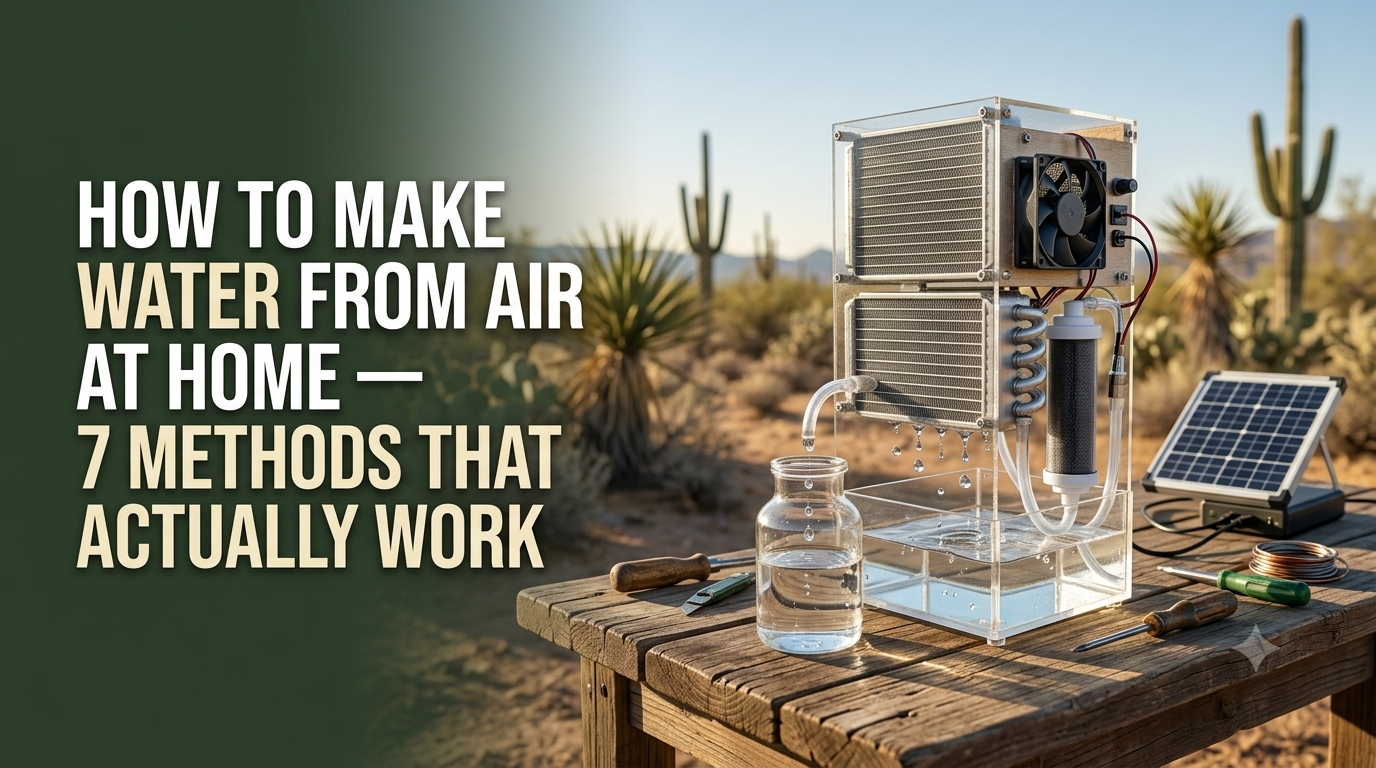
When I first started looking into how to make water from air at home, I assumed it was one of those Internet ideas that sounded clever but produced three drops after six hours. Then I learned something important: water is already floating around us as water vapor. The trick is not “creating” water; it is collecting moisture through condensation, cooling, fog capture, or humidity-harvesting equipment.
That said, not every method produces enough water for a family. Some are great for science projects. Others can support emergency water preparedness. A few can become a serious part of an off-grid water system when the local climate is suitable.
This guide breaks down seven realistic methods, what they can do, where they struggle, and how to avoid the mistakes that waste time, electricity, and money.
1. Start With the Reality: Air Contains Water, But Climate Controls Output
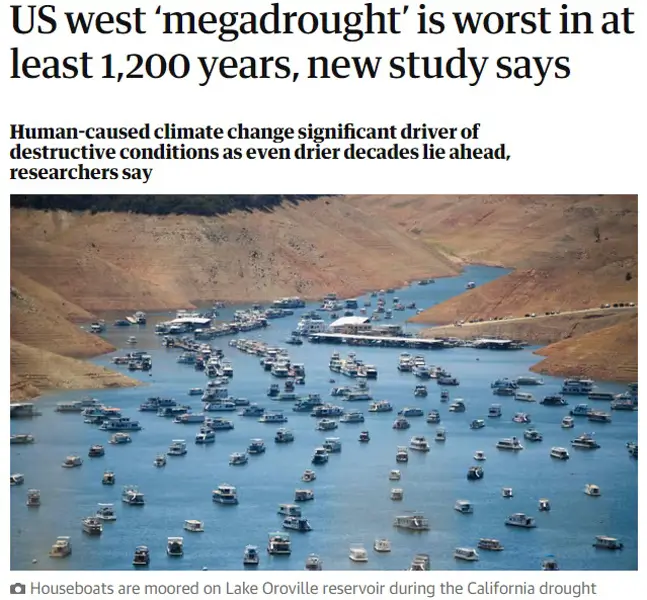
Before trying to make water from air, you need to understand the part that gets skipped in flashy DIY videos: humidity matters more than almost anything else.
Atmospheric water generation works by cooling humid air below its dew point. When that happens, water vapor condenses into liquid water, much like droplets forming on a cold glass of iced tea.
According to the National Weather Service explanation of dew point, dew point is a more useful comfort and moisture indicator than relative humidity alone because it reflects the actual amount of water vapor in the air.
- Warm, humid climates generally provide the best conditions for water-from-air systems.
- Coastal areas, tropical zones, and humid summer regions can support stronger condensation output.
- Dry desert air contains less available moisture, so output may be much lower without specialized equipment.
- Cold air can also hold less moisture, which limits many condensation-based methods.
- Any collected water should be filtered, stored safely, and tested before being used as drinking water.
I made the mistake of assuming a sunny day meant “good water-making weather.” Nope. A hot, dry day can be terrible for condensation collection because the air may have very little moisture in it.
For a practical home system, check your local average humidity, nighttime temperatures, dew point, and seasonal weather patterns. The National Oceanic and Atmospheric Administration provides local climate data that can help you estimate whether an atmospheric water generator is realistic in your area.
2. Method One: Use a Dehumidifier to Collect Condensation Water
A household dehumidifier is one of the easiest ways to collect water from humid air. It works by pulling room air across cold coils, causing water vapor to condense into a collection bucket.
This is basically a small atmospheric water generator already sitting in many basements. It can collect a surprising amount of liquid in humid weather, but that does not automatically make the water safe to drink.
The U.S. Environmental Protection Agency’s drinking-water guidance emphasizes the importance of protecting water from microbial and chemical contamination. A dehumidifier reservoir, coils, and internal components can collect dust, mold, bacteria, and metal residues.
- Use a clean dehumidifier with regularly washed filters and a sanitized collection bucket.
- Consider the water non-potable unless it is properly filtered, treated, and tested.
- Use untreated dehumidifier water for plants, toilet flushing, cleaning, or other non-drinking purposes.
- For emergency drinking use, use appropriate purification steps and confirm safety with local water-testing guidance.
- Expect greater output in warm, humid rooms such as basements, laundry rooms, and enclosed spaces.
For me, this is best viewed as a water-recovery method, not an instant drinking-water solution. It is useful for conserving stored water during an emergency, especially when every gallon counts.
If you want a beginner-friendly overview of atmospheric-water options and a DIY system designed around condensation, you can read this independent Joseph’s Well review before deciding whether a dedicated build makes sense for your property.
3. Method Two: Build a Simple Nighttime Condensation Collector
Nighttime condensation collectors use the natural temperature drop after sunset. If a surface becomes cooler than the dew point, moisture can condense on it and drip into a clean collection channel.
This method is low-tech, cheap, and satisfying to experiment with. But I will be straight with you: a basic dew collector usually produces modest output, not enough to replace a home water supply.
The best setups use angled, food-safe collection surfaces with a gutter or trough at the bottom. Roof metal, plastic sheeting, glass, and specially designed radiative cooling surfaces can all be used, although materials must be kept clean.
- Choose an open location away from vehicle exhaust, dust, pesticides, and chimney smoke.
- Angle the collection surface so droplets can run into a covered food-grade container.
- Use a dark or radiative-cooling surface if your design benefits from nighttime heat loss.
- Clean the surface before each collection cycle to reduce contamination risk.
- Collect on nights with higher humidity and a meaningful temperature drop.
One thing I learned the annoying way: if your collection surface is too flat, droplets sit there and evaporate once the sun rises. A decent slope and a clean drainage channel make a huge difference.
This is a good backup project for campers, survival-minded households, and people learning off-grid water collection basics. It pairs nicely with rainwater storage, but it should not be your only emergency water plan.
4. Method Three: Use Fog Nets in Coastal or Mountain Areas

Fog nets are one of the coolest ways to make water from air at home because they can work with no electricity. They use fine mesh placed in the path of fog, allowing tiny droplets to gather, merge, and flow down into a collection gutter.
This method is not for everyone. It works best in fog-prone coastal zones, mountain passes, and elevated regions where moist air moves consistently across the landscape.
The FogQuest organization has documented community fog-collection projects in water-scarce regions, showing that atmospheric moisture collection can become meaningful when geography and local weather cooperate.
- Install the fog net perpendicular to the direction of prevailing fog and wind.
- Use durable mesh designed to capture droplets while allowing air to pass through.
- Attach a clean trough at the bottom that drains into a covered storage container.
- Keep the setup away from roads, agricultural spraying, and pollution sources.
- Filter and disinfect collected water before drinking, especially in polluted or urban areas.
Fog nets are pretty amazing when conditions are right. But trying one in a place that never gets fog is like installing a wind turbine in a still garage. It looks prepared, but it does nothing.
If you live near the Pacific coast, in a misty mountain area, or in a location that gets regular morning fog, this can be a low-cost addition to a broader off-grid water system.
5. Method Four: Make a Solar Still for Emergency Water Collection
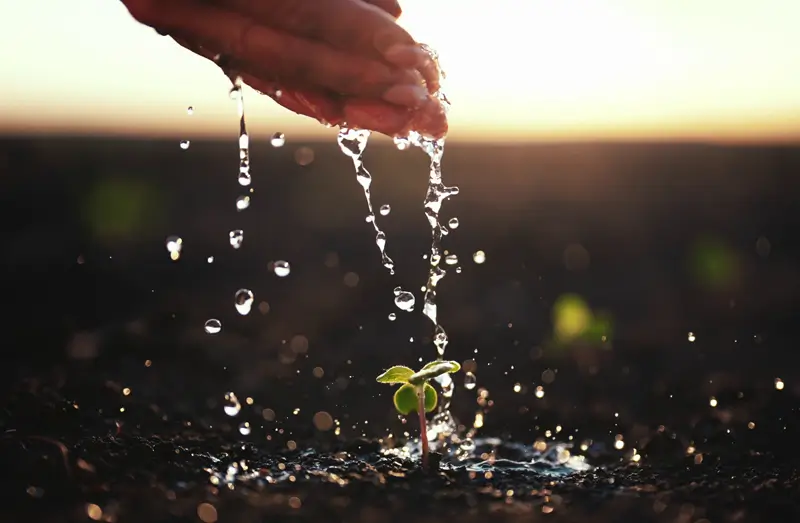
A solar still does not technically pull large amounts of moisture directly from open air. Instead, it uses solar heat to evaporate water from damp soil, salty water, or contaminated water, then condenses the vapor on a clear cover.
It is useful for learning the basic principle of evaporation and condensation. It can also help in an emergency, although output is normally slow.
The U.S. Geological Survey’s water-cycle overview explains the same natural process: water evaporates, condenses, and returns as liquid. A solar still copies that cycle in a small enclosed setup.
- Dig a shallow pit in sunny soil or use a sealed container with dirty or salty water.
- Place a clean cup in the center to collect condensed water.
- Cover the pit with clear plastic and seal the edges with soil or weights.
- Place a small stone above the cup so the plastic slopes toward the collection point.
- Use solar-still water cautiously and do not assume all chemical contaminants are removed.
Solar stills are slow. Really slow. My first attempt barely filled the bottom of a cup after most of a sunny day, and that was a humbling little lesson.
Still, a solar still is worth knowing because it requires few moving parts, no grid power, and almost no specialized tools. Think of it as a survival skill, not a household-scale water generator.
6. Method Five: Create an Atmospheric Water Generator With Condensation
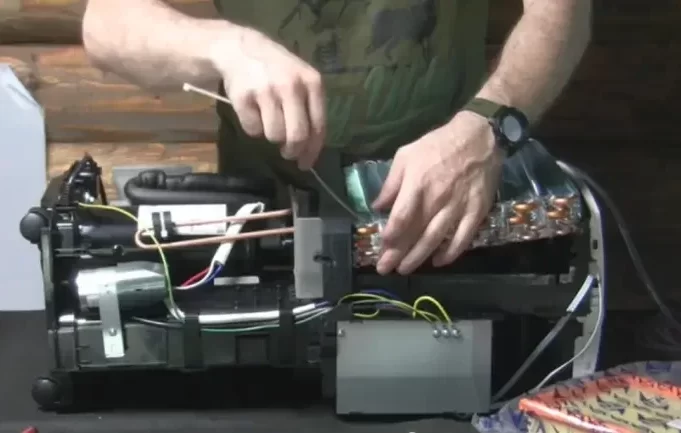
A dedicated atmospheric water generator, often called an AWG, uses refrigeration-style cooling to condense humidity from the air. This is the most practical method on this list for people who want more than a few cups of water.
The basic process is simple: a fan pulls in humid air, cold coils lower the air temperature below its dew point, water condenses, and the collected water moves through a storage and filtration process.
But the build details matter. Electrical safety, food-safe water-contact materials, proper drainage, filter maintenance, and water testing are not optional little extras. They are the boring bits that keep a DIY project from becoming a problem.
- Use a condensation system only where humidity levels support realistic output.
- Keep coils, tanks, tubing, and filters clean to reduce contamination risk.
- Use food-safe storage containers and protect stored water from light and dust.
- Monitor energy use because refrigeration-based collection requires electricity.
- Test water quality before relying on it for drinking, cooking, or infant use.
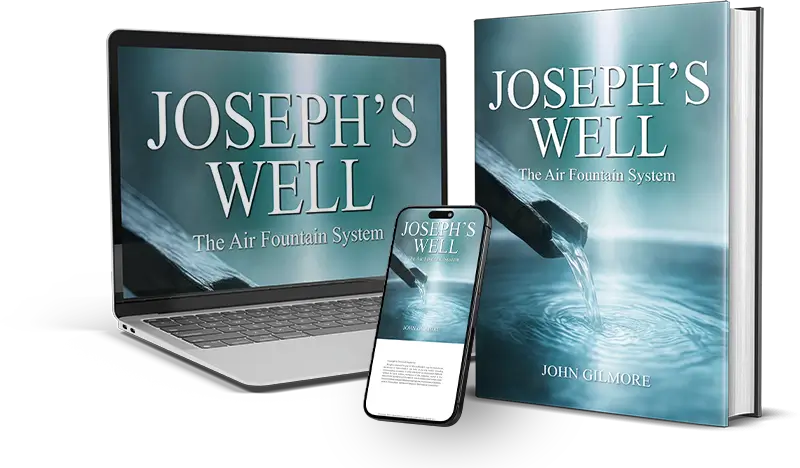
Commercial atmospheric water generators can be expensive, which is why many homesteaders look for DIY alternatives. The Joseph’s Well offer presents a step-by-step guide for building a smaller condensation-based system with on-grid and off-grid power options; its advertised output and costs should be treated as vendor claims that depend heavily on humidity, configuration, and local conditions.
If you want to see the guide, materials-list angle, and bonus resources for yourself, you can see the Joseph’s Well digital system here.
7. Method Six: Run a Small Water Generator With Solar Power
If your goal is an off-grid water system, then power becomes part of the conversation. A condensation-based device needs electricity, so a small solar setup with a battery bank may be more useful than relying only on wall power.
This does not mean a tiny solar panel will magically run a high-draw appliance all day. I have seen people underestimate inverter size, battery capacity, and daily watt-hour needs, then wonder why everything shuts down halfway through the afternoon.
The U.S. Department of Energy’s solar-electricity basics is a solid starting point for understanding panels, batteries, inverters, and solar energy limitations.
- Check the device wattage before buying a solar panel, battery, charge controller, or inverter.
- Calculate watt-hours by multiplying device watts by estimated daily run time.
- Build in extra battery capacity for cloudy days and nighttime operation.
- Use fuses, correct wire sizes, and weather-protected enclosures for safety.
- Start small by powering lights, fans, or pumps before designing a full AWG solar system.
Solar power can make a water generator more independent, but it is not a shortcut around physics. The more water you expect to produce, the more energy you generally need to remove heat and create condensation.
A modest setup may still be valuable for emergency use, weekend homesteads, RVs, or a backup water plan. Just size it honestly, not emotionally.
8. Method Seven: Combine Water-From-Air Methods Into a Real Backup Plan
The most realistic answer to how to make water from air at home is not picking one magic gadget. It is building layers of water security.
Stored water, rainwater collection where legal, basic filtration, a way to disinfect water, and an atmospheric water method can work together. That is much more dependable than betting everything on a single device during a drought, outage, or supply interruption.
The Ready.gov emergency water guidance recommends storing at least one gallon of water per person per day for several days, with more needed in hot climates, for children, older adults, pets, or medical needs.
- Store emergency water first before investing in advanced water-generation projects.
- Use atmospheric water collection as a supplement, not your only drinking-water source.
- Keep a gravity filter, water-treatment tablets, and a boiling method available.
- Rotate stored water and use food-grade containers with tight-fitting lids.
- Learn how local water rules apply to rainwater harvesting, wells, and off-grid systems.
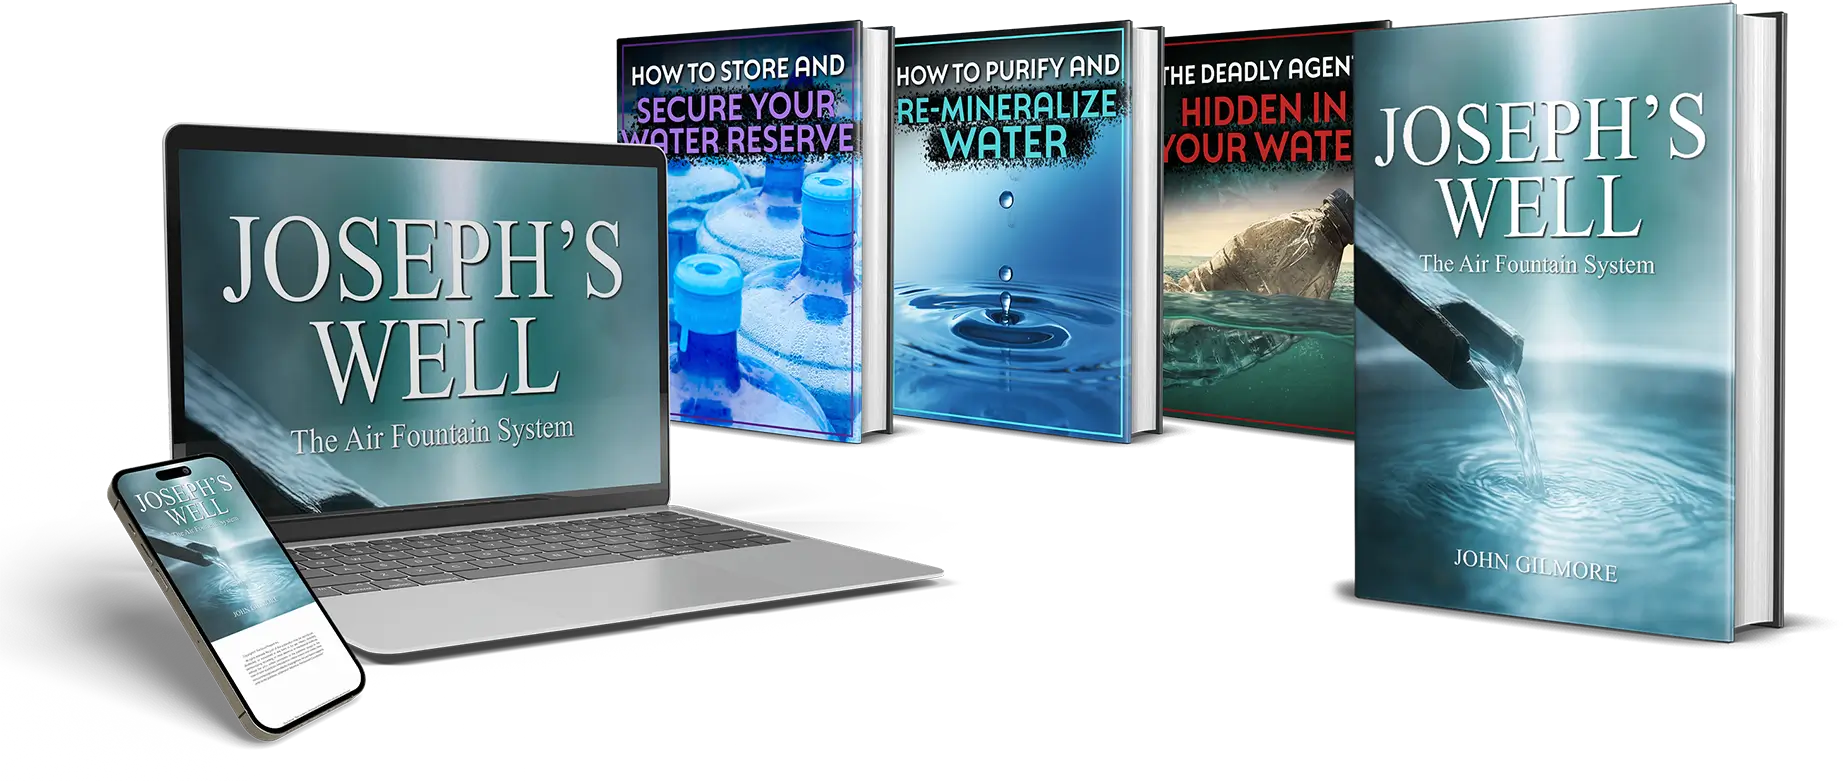
For households interested in a structured DIY route, Joseph’s Well is marketed as a digital guide that includes build instructions, schematics, parts sourcing, power options, and water-preparedness bonuses. You can review the Joseph’s Well details and limitations here before buying.
Conclusion: Start Small, Test Carefully, and Build Water Resilience
Learning how to make water from air at home can be useful, empowering, and honestly kind of fun. But it works best when expectations are realistic: fog nets need fog, dew collectors need suitable nighttime conditions, solar stills are slow, and atmospheric water generators need humidity plus energy.
Start with emergency water storage, then add practical layers such as filtration, rainwater collection where permitted, a dehumidifier for non-potable reuse, or a properly maintained DIY condensation system. Test your water before drinking it, maintain your equipment, and don’t assume a single method will cover every situation.
For preppers, homesteaders, and off-grid families, the goal is not perfection. It is having more options than you had yesterday.
Sources and Further Reading
- Ready.gov: Emergency Water Supply Guidance
- U.S. Environmental Protection Agency: Drinking Water Information
- U.S. Geological Survey: Water Science School
- National Weather Service: Dew Point and Humidity
- U.S. Department of Energy: Solar Electricity Basics
- FogQuest: Fog Water Collection Projects
- Joseph’s Well Review and Product Overview